
Top 5 Common Needle Felting Mistakes (and How to Avoid Them)
Needle felting is a rewarding and relaxing craft, but like any new skill, beginners often run into a few bumps along the way. Whether you’re just starting out or want to fine-tune your technique, understanding what not to do can make a big difference.
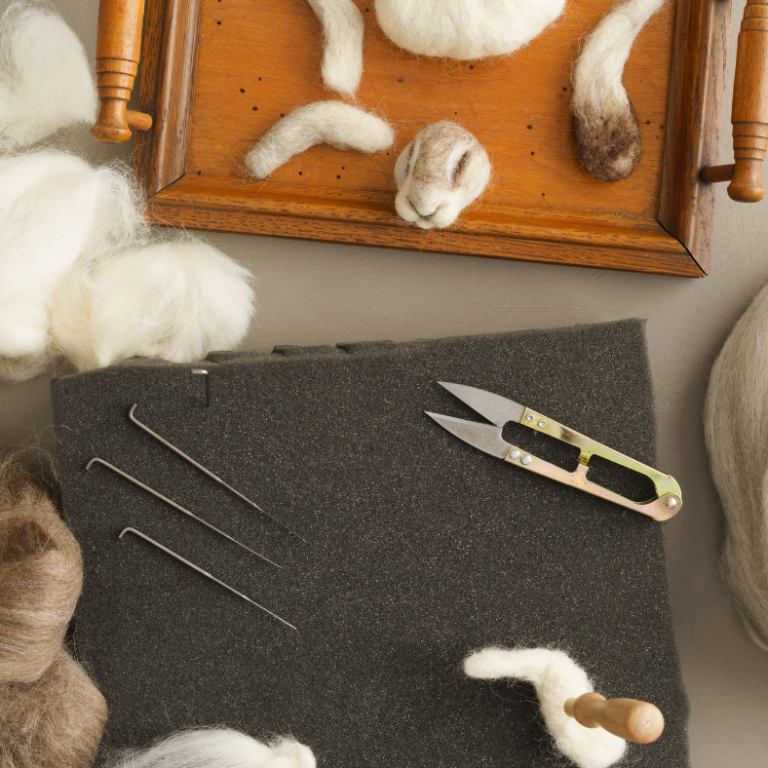
Here are the top 5 most common needle felting mistakes — and how to fix or avoid them altogether.
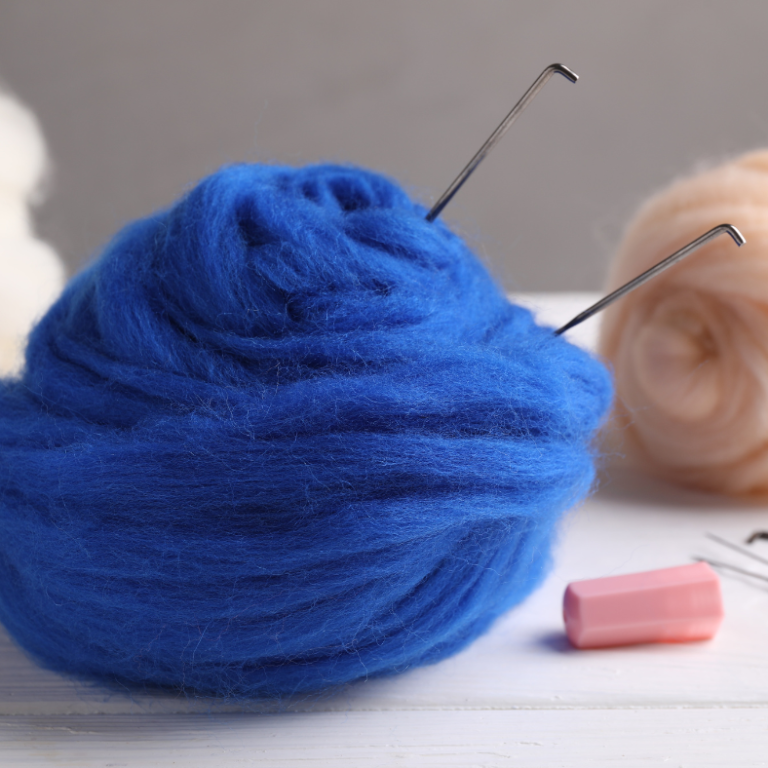
1. Using Too Much Wool at Once
The Mistake:
It’s tempting to grab a big chunk of wool and try to shape it quickly. But this usually leads to lumpy, loose forms that are hard to control.
How to Fix It:
Start with small amounts of wool and build up your shape gradually in layers. This gives you more control, results in a firmer structure, and allows for easier detailing later.
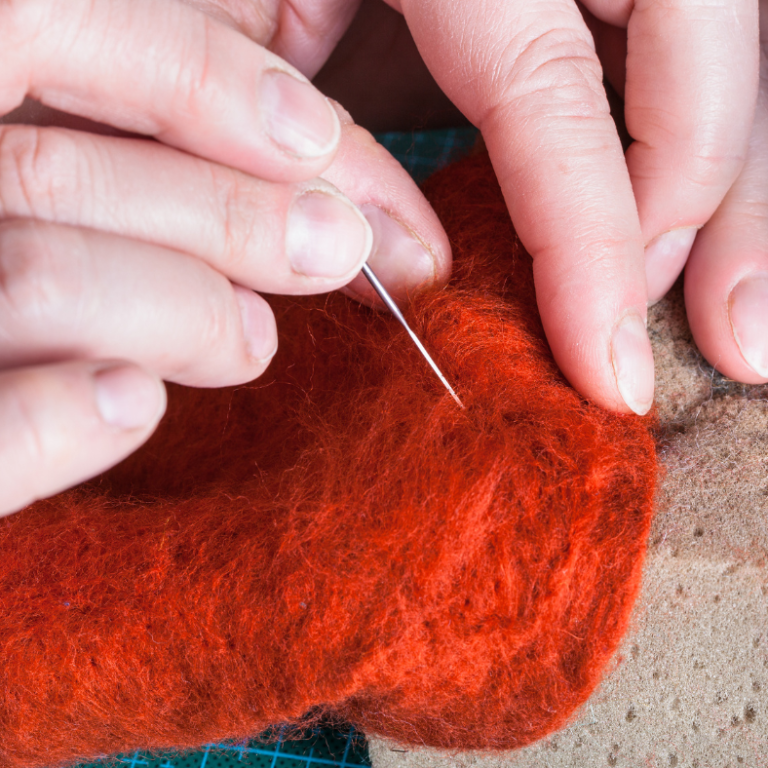
2. Felting Too Soft or Too Hard
The Mistake:
Under-felting leaves your project soft, shapeless, and fragile. Over-felting or stabbing too aggressively can break needles or compress the wool too much, making it hard to add details.
How to Fix It:
Use even, moderate pressure and check firmness as you go. The wool should feel springy but hold its shape. For key areas (like noses or legs), go firmer. For outer layers or fine features, stay lighter.
3. Not Rotating Your Project While Felting
The Mistake:
Felting too much on one side causes flat spots or uneven shapes.
How to Fix It:
Turn your project often. Think of it like sculpting — aim for symmetry and smooth curves. This habit leads to more polished, well-balanced creations.
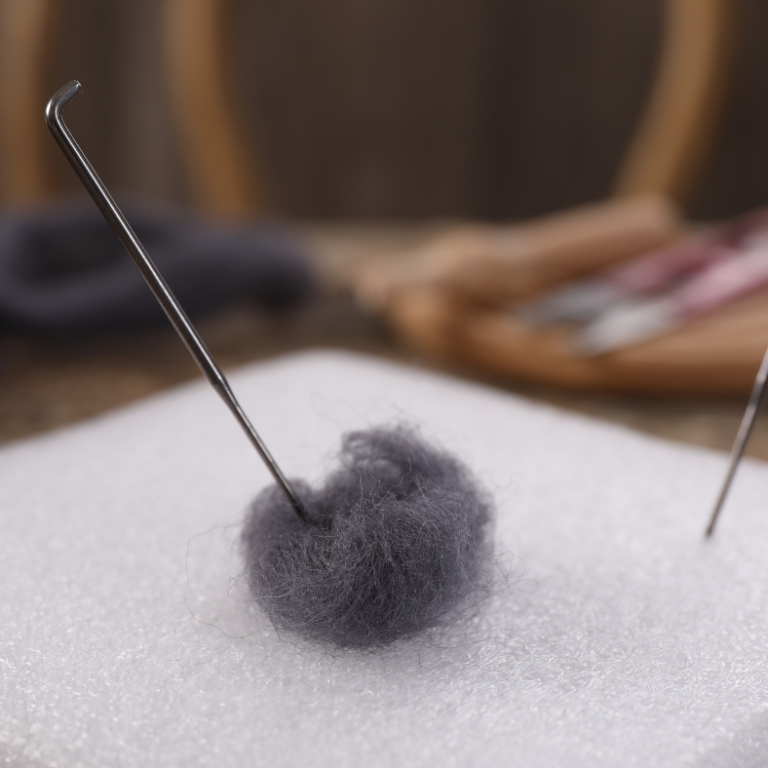
4. Breaking Needles Frequently
The Mistake:
Needle tips are fragile, and beginners often break them by twisting, bending, or stabbing at the wrong angle.
How to Fix It:
Always stab straight in and out, never at a diagonal. Avoid forcing the needle into very firm or dense wool. Use the right needle for the job — finer needles for detail, larger ones for shaping.
5. Skipping the Core Wool Step
The Mistake:
Jumping straight to colored or outer wool can waste materials and make it hard to get a firm base.
How to Fix It:
Start with undyed core wool to form your shape, then add your final colored wool as a thin outer layer. This saves your high-quality wool and creates a more defined, structured result.

Bonus Tip: Be Patient With Yourself
Mistakes are part of the learning process! Every project teaches you something new, and even experienced felters go through trial and error.
Looking for quality wool, needles, or starter kits?
Visit our Shop for curated supplies perfect for beginners and beyond.
Need inspiration? Browse the Gallery to see finished projects by fellow felters.
Have questions? Reach out on our Contact Us page — we’re happy to help!